UPDATE: Olympus’ OM-D Webcam Beta Software is Now Available for Mac OS Users
To support our Olympus family and help with increasing needs for high quality web conferencing and streaming solutions, we're excited to announce our new OM-D Webcam Beta software. This complimentary software transforms your compatible OM-D camera into a webcam for use with leading video conferencing applications.
Whether you're connecting with loves ones or collaborating with colleagues from home, video streaming is now more important than ever. We're excited to introduce Olympus' OM-D Webcam Beta software! This free beta software allows you to use select OM-D cameras in conjunction with video conferencing applications.
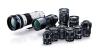
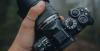
OM-D Webcam Beta is compatible with the following camera models:
- E-M1X
- E-M1, E-M1 Mark II, E-M1 Mark III
- E-M5 Mark II
Follow These Step-by-Step Instructions to Get Started
Installation:
- Download OM-D Webcam Beta.
- Open the setup.exe file and follow the on-screen instructions.
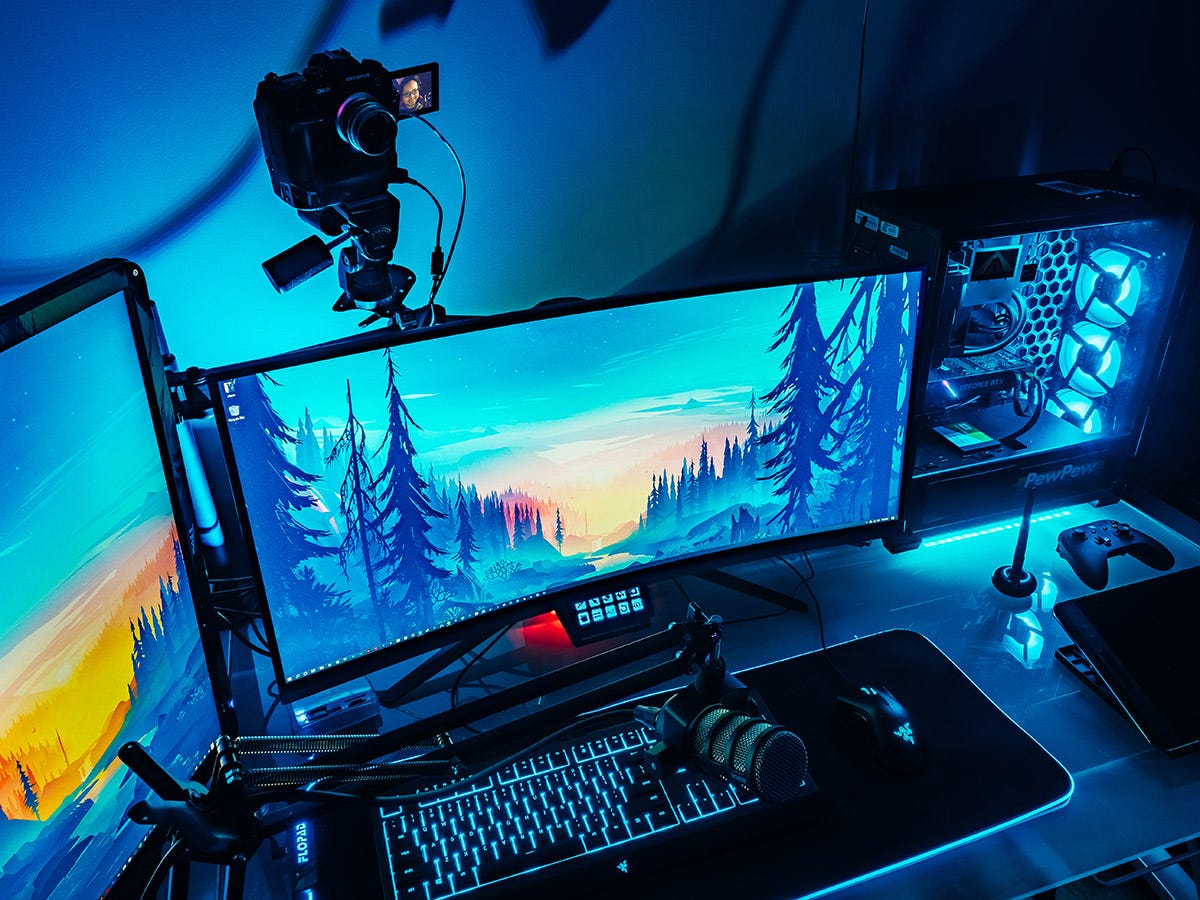
Usage:
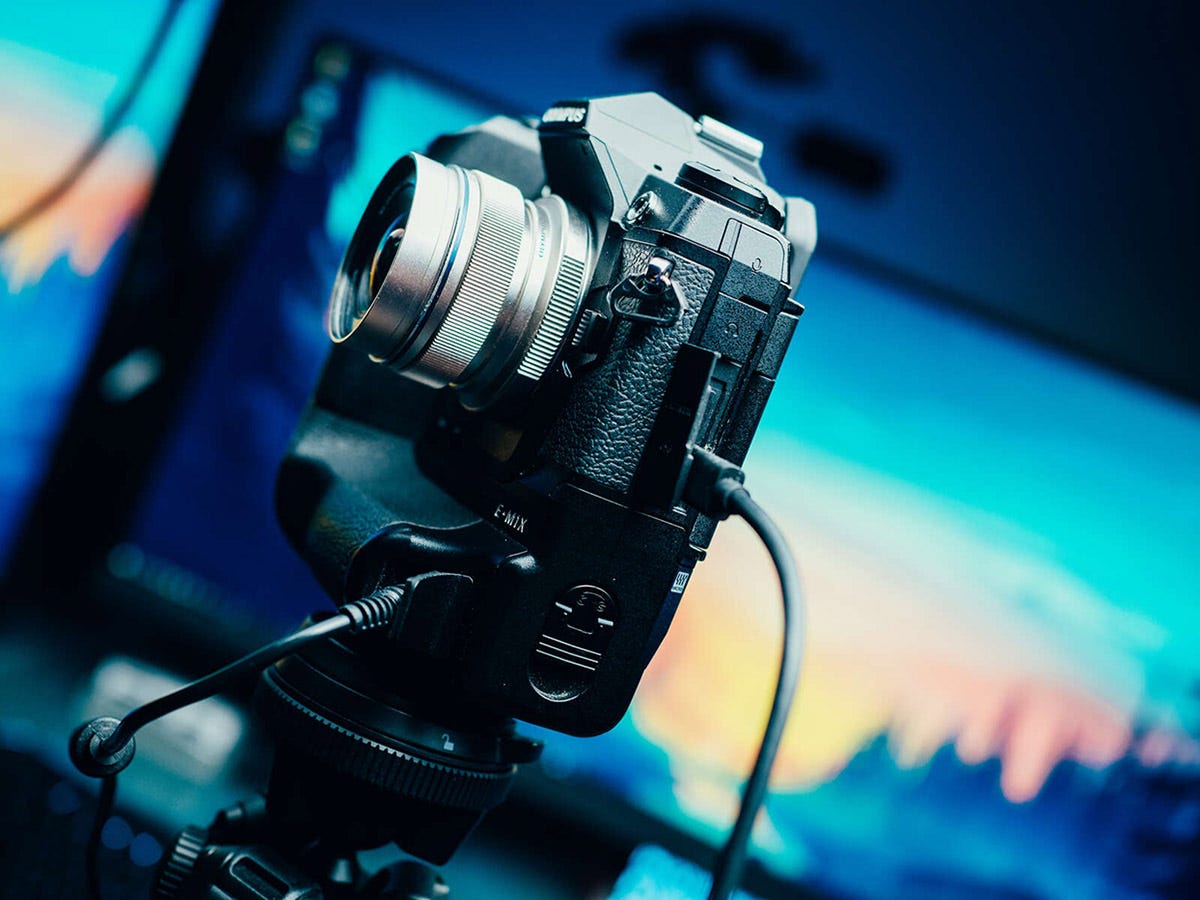
- Connect your OM-D and PC using the official USB-C tether cable provided within the original box.
- Turn on the camera.
- Select
 on the monitor.
 - Open your web conferencing application.
- Go to your video preferences in the application and select 'OM-D Webcam Beta.'
Please note: at this time, OM-D Webcam Beta software is compatible with Windows PCs only.

OM-D Webcam Beta software does not output sound from the camera. However, all Olympus LS-P recorders - like the LS-P4 - can be used as USB microphones for video streaming.
How to Set Up USB Audio with Your LS-P Recorder:
- Connect the camera to one USB port, and the LS to another USB port.
- Slide the USB connector slide lever in the direction of the arrow.
- Connect the LS Recorder to the extension cable.
- Plug the cable into your PC.
- Press the MENU/SCENE button while the voice recorder is in stop mode.
- Press the + or - button to select the [Device Menu] tab.
- Press the 'OK' button to move the cursor into the list of setting items.
- Press the + or - button to select [USB Settings].
- Press the 'OK' button.
- Press the + or - button to select [USB Class].
- Select [Composite]. This will set the recorder to USB Audio Class. The recorder will then be recognised as a USB Microphone/Speaker on the computer.